Digital asset bank statement: How to generate and import into QuickBooks or Xero
Some accounting firms choose to treat wallets, exchanges, or other digital asset sources like traditional bank accounts. To manage these transactions efficiently, you can generate a Digital Asset Bank Statement in Cryptio and import it into your accounting software (e.g., QuickBooks or Xero).
The exported file mimics a standard bank feed. For example:
Cheque number = invoice number
Payee = contact
Reference = label
This makes it easier to reconcile and categorize transactions in your accounting system.
Step 1: Generate the Digital Asset Bank Statement in Cryptio
Go to the Reports section in Cryptio.
Select Digital Asset Bank Statement from the report options.
Apply filters to customize your report. You can generate a statement for:
Individual asset + date range
Individual wallet + date range
Individual wallet + asset + date range
Entire date range
Review the generated report before exporting.
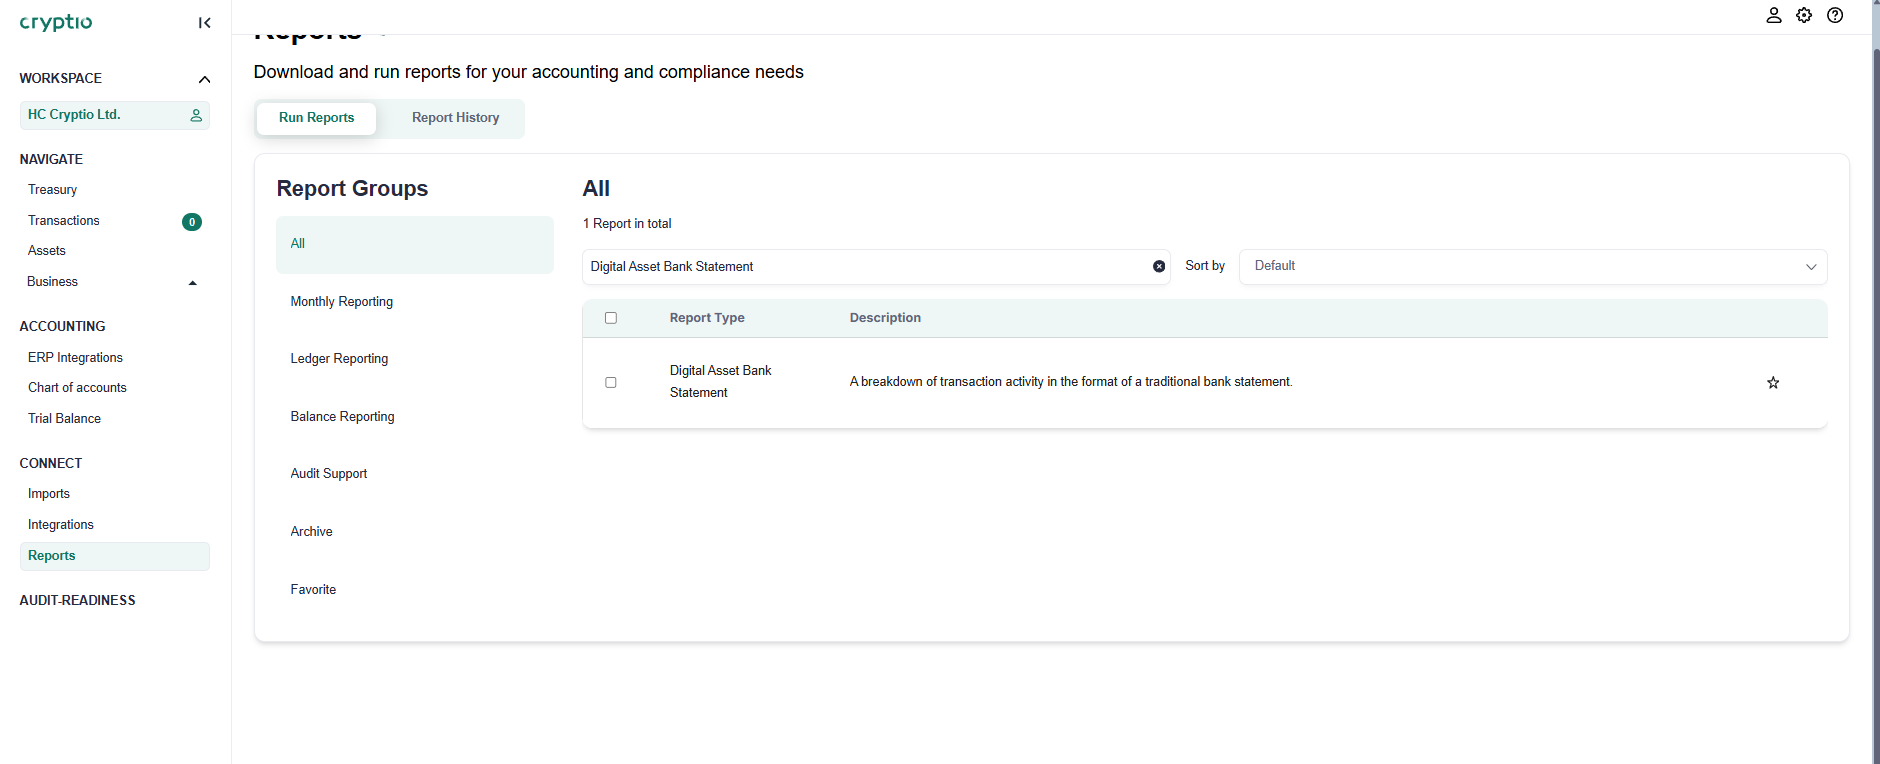
Your file is now ready for use.
Step 2: Prepare the File for Import
QuickBooks users: Ensure the date column is formatted correctly. QuickBooks accepts either:
dd/mm/yyyy
mm/dd/yyyy
Update the date formatting in your file before importing.
Xero users: No special formatting is required, but make sure your chosen report option matches your reconciliation needs.
Step 3: Import the Statement into Your Accounting Software
QuickBooks
In QuickBooks, go to Transactions > Banking.
Select Upload Transactions.
Upload your bank statement file.
Choose the account to import into and map the columns from your file to QuickBooks fields. Be sure to match the correct date format.


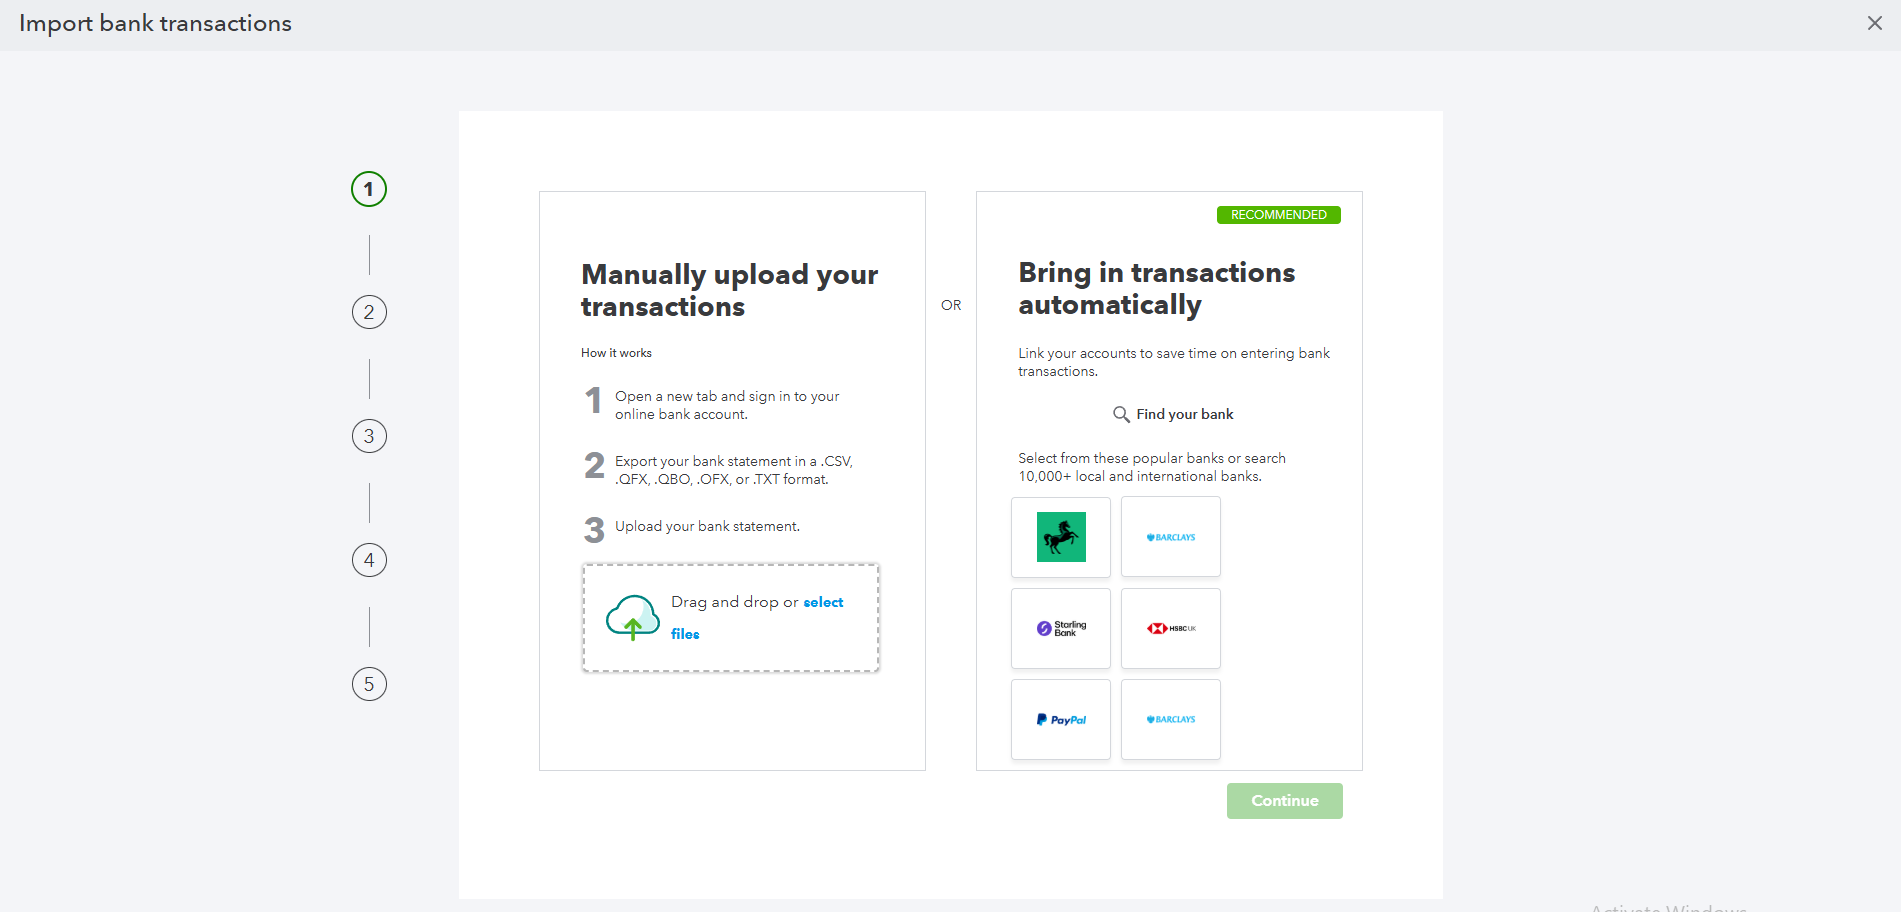
Your statement is now imported into QuickBooks.
Xero
In Xero, go to the relevant Bank Account.
Select the option to Manually Import a Statement.
Browse for the exported file and upload it.
Your statement is now imported into Xero.