Step 3: Asset management
Once you’ve imported all of your sources into your workspace, the Assets page (under Navigate) helps you categorize, cluster, and value your assets. This makes the Transactions page much easier to work with and ensures your data is meaningful.
You’ll see four main tabs on the Assets page:
Overview
System Categories
Clustering
Valuation
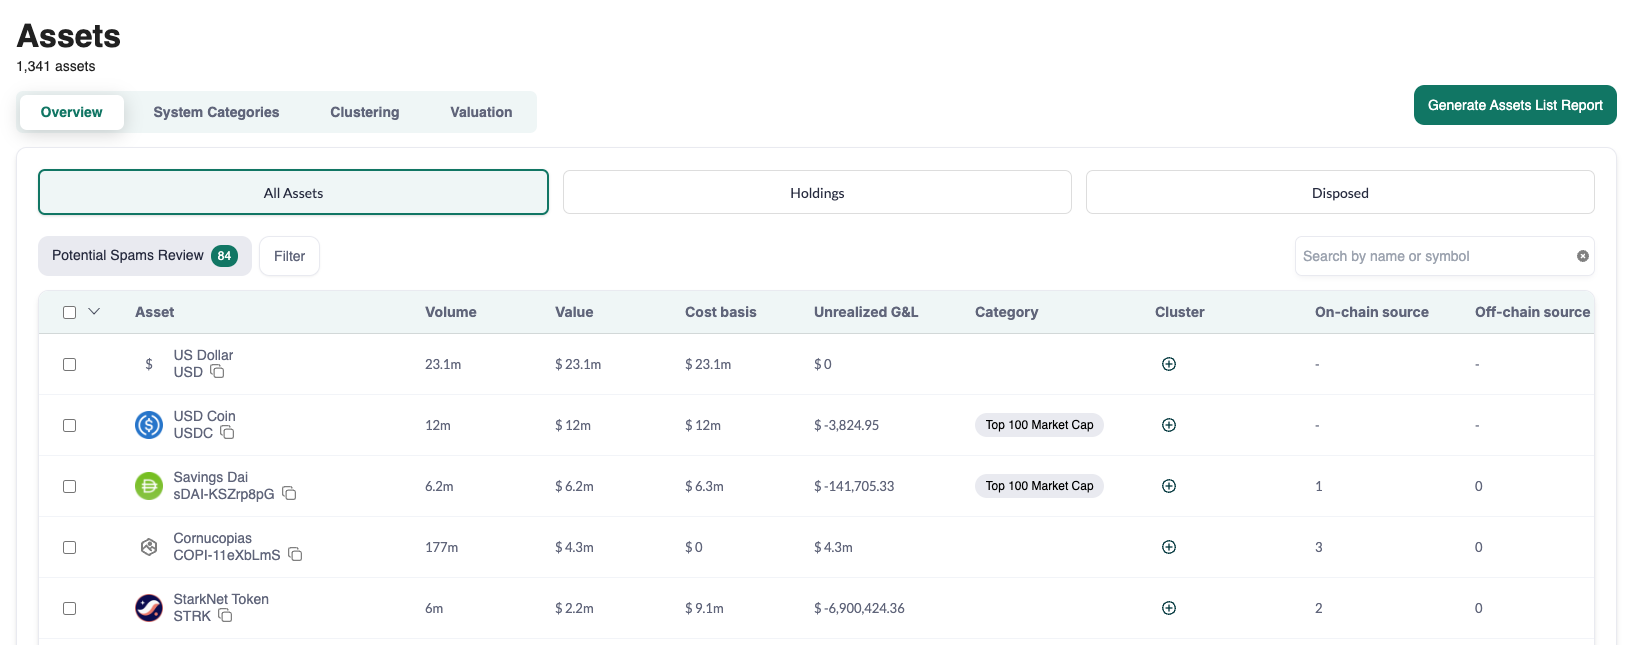
Overview
On the Overview tab, you can view and manage all assets that your business has interacted with.
On any Overview page, you can create and add assets to Asset Clusters. Learn more in our Clustering here.
All Assets — Displays every asset from your imported sources. You can filter this further into:
Holdings: Assets you currently hold.
Disposed: Assets you no longer hold.
Table View — Shows key information for each asset, including:
Unrealized gains and losses
Categories (e.g., Top 100 Market Cap)
Number of on-chain or off-chain sources
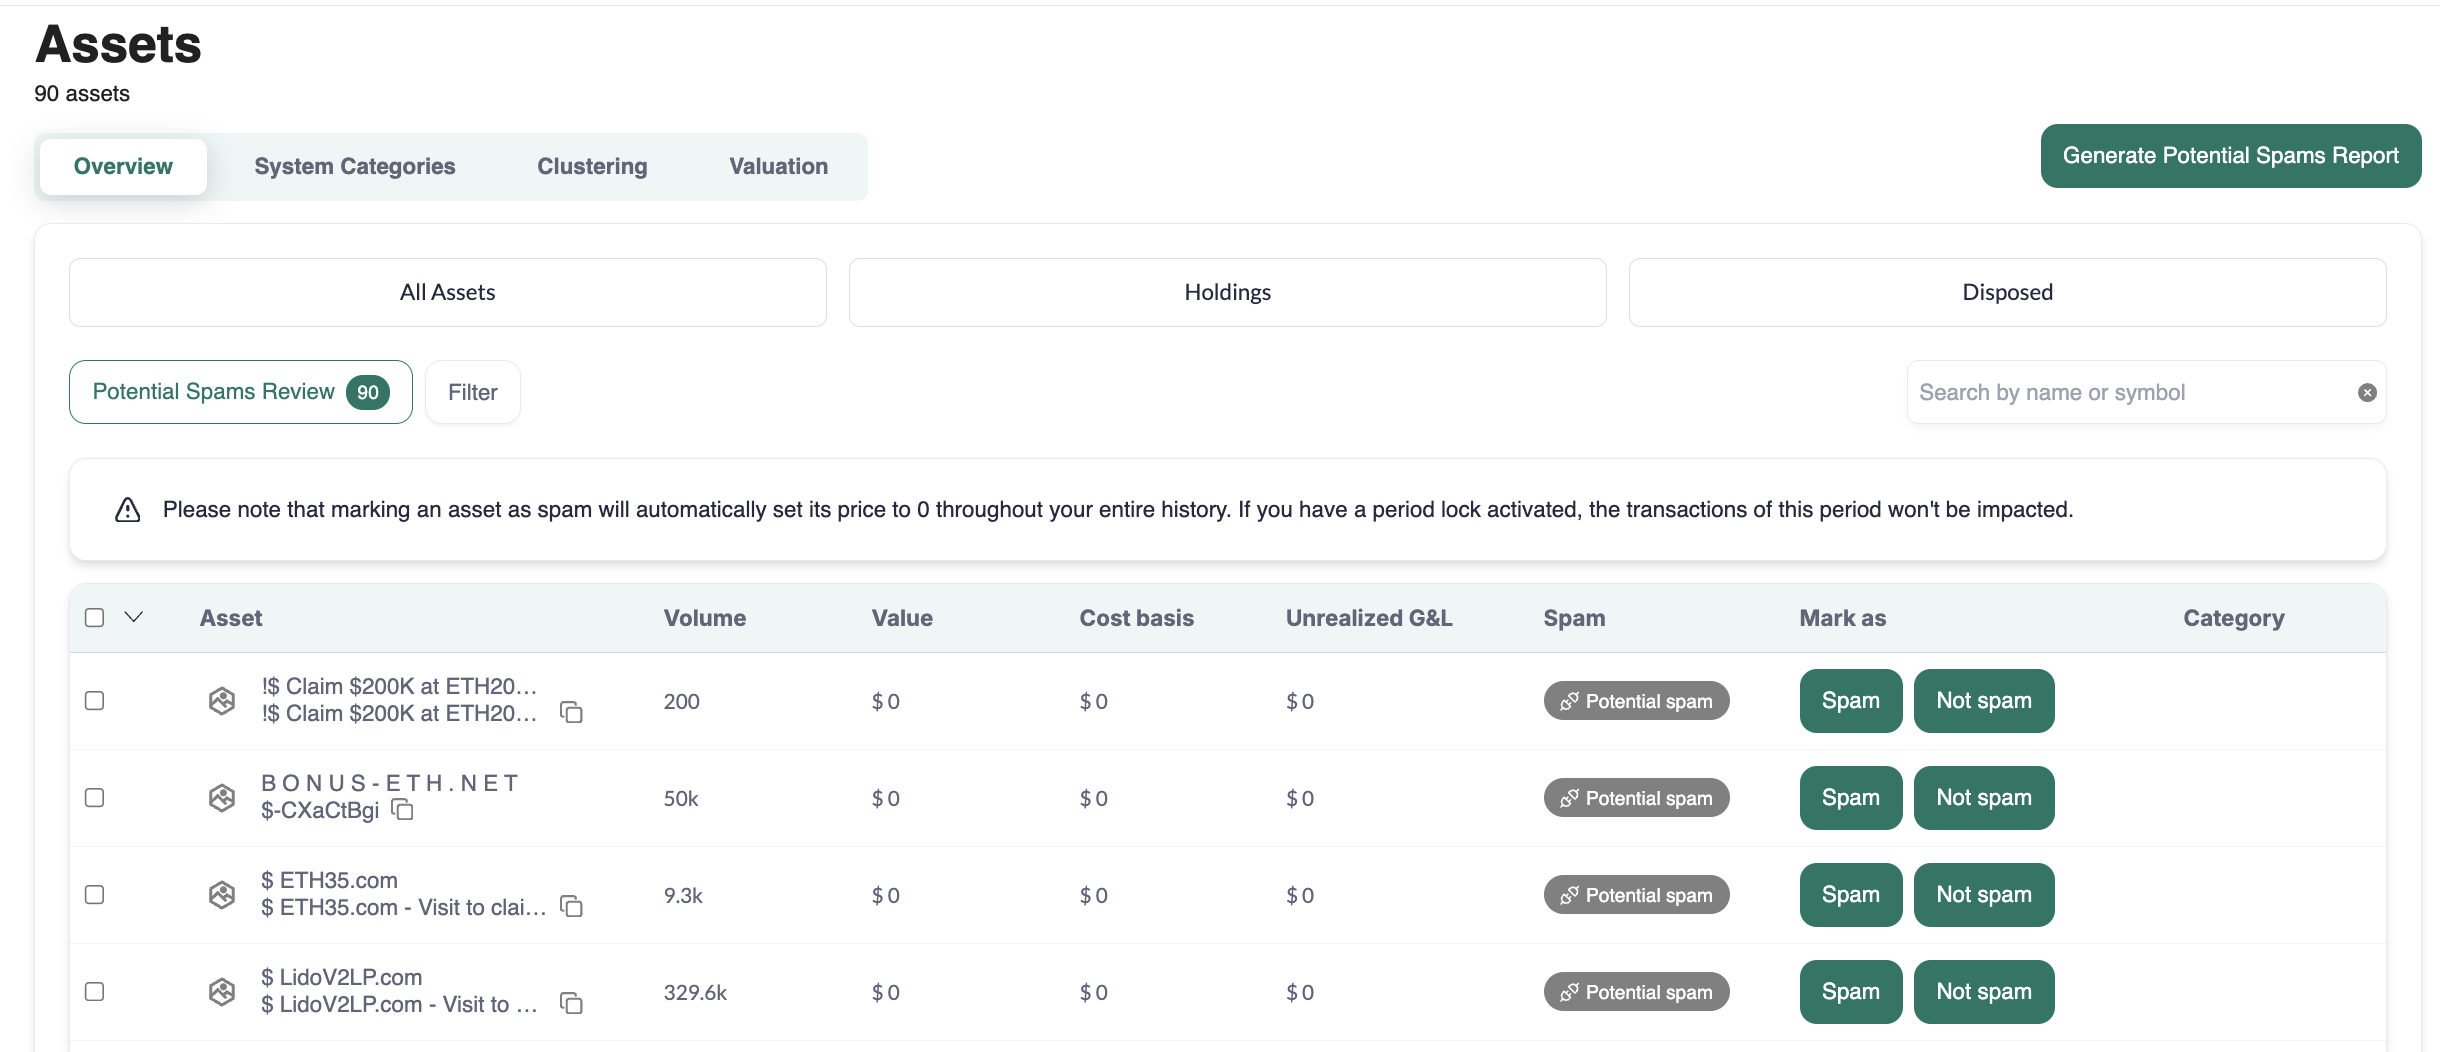
Potential Spam Review — A dedicated page to review assets flagged as potential spam.
Mark assets as Spam to automatically exclude them (and all related transactions) from your Transactions page, reports, and the Treasury module.
Mark assets as Not Spam to keep them in your data.
System Categories
The System Categories tab organizes assets into three key categories:
Significant Assets
Assets most important for your business to track.
You can filter these in the Treasury, Transactions module, Reports, and (for Enterprise customers) the Data Integrity module.
Not to be booked
Assets that should not be booked to your accounting software (e.g., off-balance sheet accounts).
Transactions with these assets are excluded from synchronization features and Ledger Entries reports.
Confirmed Spam
Assets automatically or manually identified as spam.
All transactions with these assets are labeled Spam and filtered out of the Treasury, Transactions module, reports, and (for Enterprise customers) the Data Integrity module.
See our full guide on System Categories here.
Clustering
The Clustering tab allows you to create and view asset clusters.
For example, to group together all Aave tokens:
Click + Create New Cluster.
Add the relevant tokens.
Give the cluster a meaningful name, such as “AAVE.”
Once clusters are created, you’ll see visual infographics showing allocation and token breakdown by cluster.
Clusters can also be used as filters in the Transactions page, Treasury, and Reports.
See our full guide on Asset Clustering here. Please note, you can also cluster wallets.
Valuation
The Valuation tab contains two key sections:
Asset Pegging
Lets you value one asset based 1:1 on another asset or fiat token.
Useful for assets like variable debt or interest-bearing tokens that don’t have price providers.
Two pegging options are available:
Stablecoin Pegging: Match stablecoins (e.g., USDT, USDC) 1:1 with a fiat currency.
Asset Pegging: Match an asset to another asset (e.g., peg Aave WBTC to WBTC at 1:1).
For both pegging options, select Peg history if you want valuations applied to all past transactions. If not, pegging only applies from the setup date onwards.
See our full guide on Stablecoin and Asset Pegging here.
Principal Market Selection
Choose between different price providers.
Decide whether the selection applies to the full transaction history or only from a specific date.
Example: Select Binance as the provider for Bitcoin pricing starting from January 1, 2023.
Once you’ve set up asset management, you’ll have clear visibility into your assets and how they should be categorized. Next, we’ll move on to labeling your transactions.
See our full guide on Principal Market Selection here.