Step 2: Importing your data
Now that you’re familiar with the key elements of your workspace, it’s time to add your transaction data.
At Cryptio, one of our main goals is to ensure your sub-ledger fully reflects your crypto activity across blockchains, exchanges, and custodians. To achieve complete coverage, we recommend importing every crypto source your company has custodianship over.
How to start importing
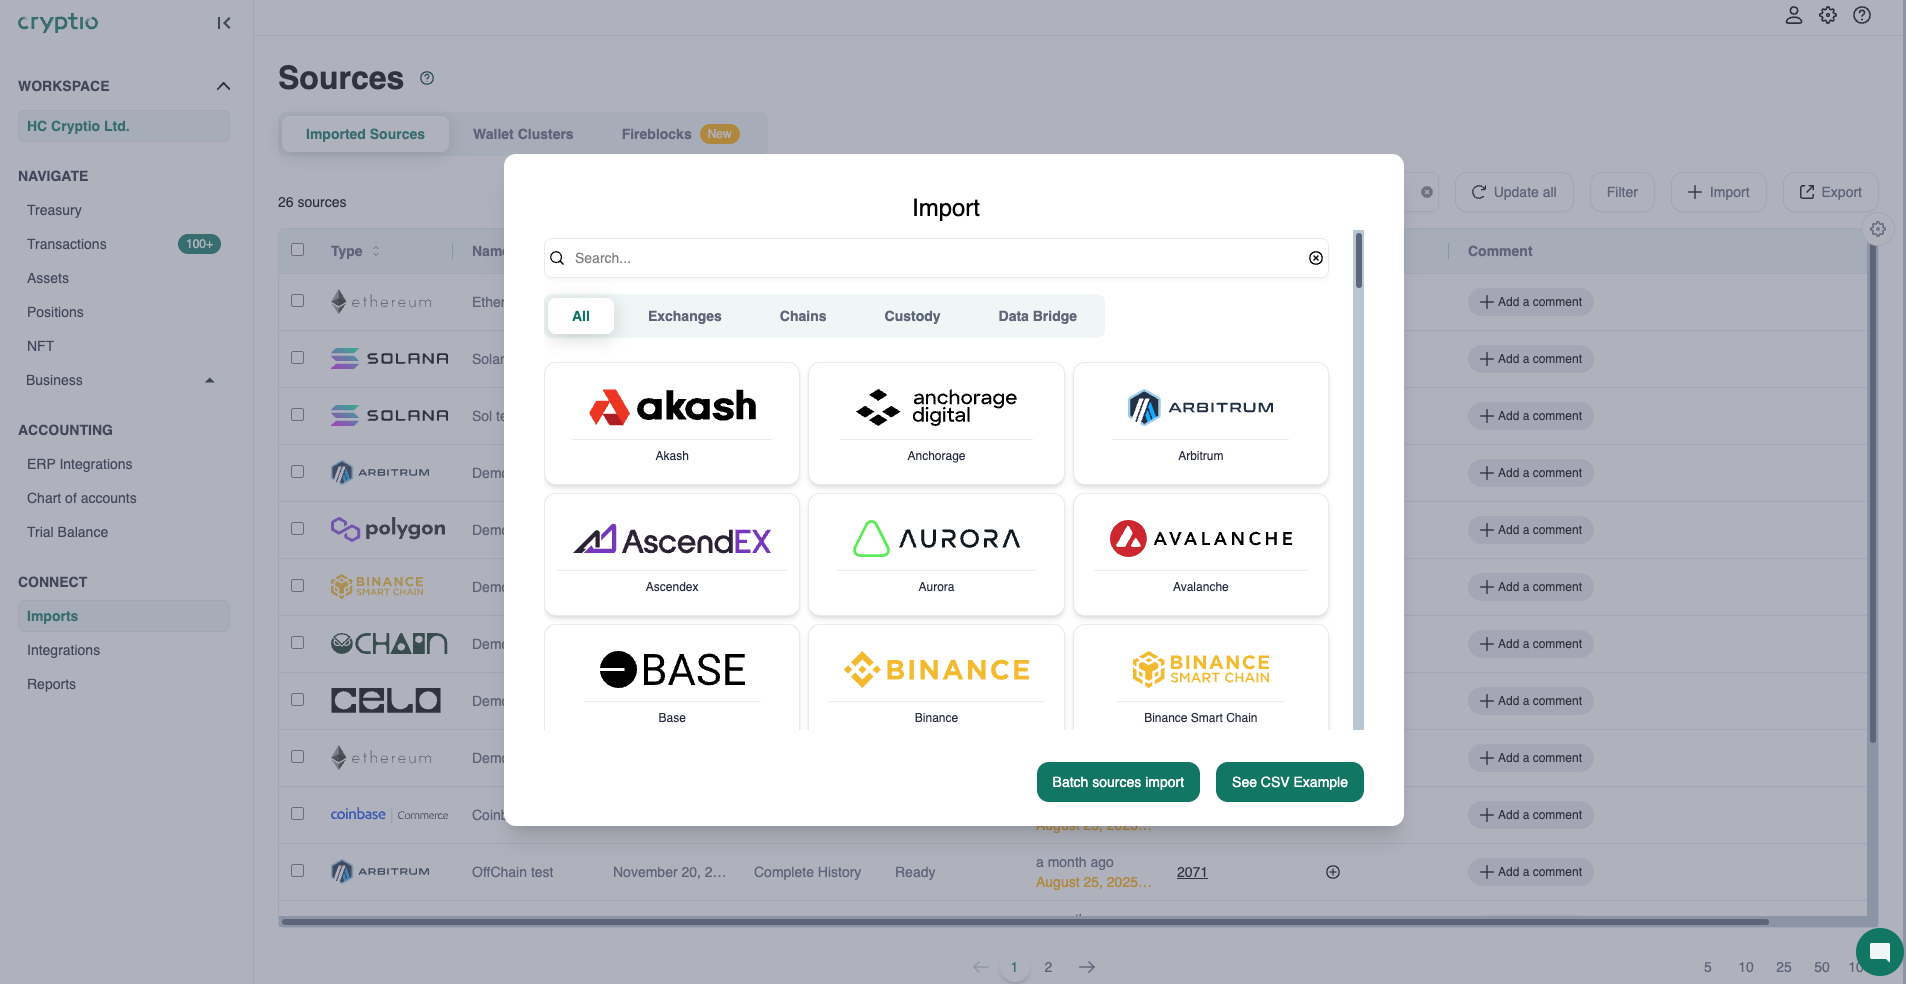
Go to the Imports page under CONNECT.
Select + Import. A pop-up will appear showing all available connectors.
Connectors are grouped into three categories: Exchanges, Chains, and Custody.
Import options
Full history (default): We automatically import all transactions from the wallet’s creation up to today.
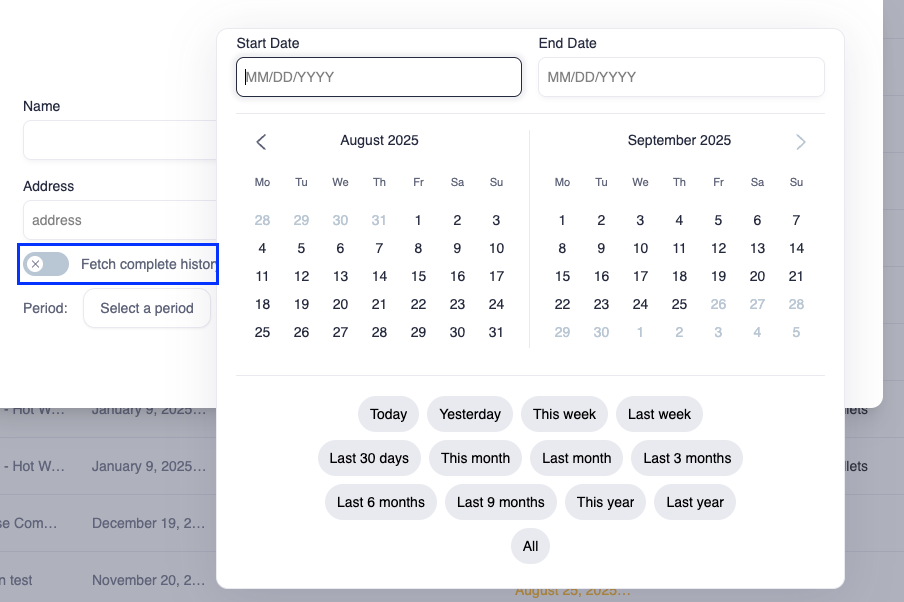
Custom timeframes: If you only need data from a specific period (e.g., after you gained ownership of a wallet), you can set a start and/or end date. To do this:
Toggle off Fetch complete history.
Select your desired start date and/or end date.
Helpful tips:
If you only select an end date, data will be pulled from the first transaction up to that end date.
If you only select a start date, data will be pulled from that date onward, and new transactions will continue to be imported as they occur.
Balance only: If you don’t need the full transaction history and only want to see current balances, toggle on Balance Only.
This will import wallet balances (rather than individual transactions) and display them on your Treasury page.
Importing on-chain wallets
Select the blockchain (e.g., Ethereum).
Give your wallet a meaningful name (e.g., “ETH Holding Wallet”).
Enter the wallet address.
Click Create - our connector will then pull in all transactions from that wallet.
See our full guide on importing on-chain wallets here.
Importing from exchanges and custodians
For exchanges and custodians, you’ll need to set up permissions and, in some cases, provide API keys. Our detailed setup guides explain exactly how to configure these.
Important: Pay close attention to the permissions section of each guide. The correct permissions ensure Cryptio can “read” the data properly and fetch your transactions.
Once setup is complete, click Create and we’ll connect to the exchange or custodian and import your transaction history.
Importing from unsupported sources
If you don’t see your chain, exchange, or custodian listed, it means we don’t yet have a direct connector. You can still import this data by uploading a custom CSV file.
Check out our full CSV Import Guide for step-by-step instructions.
And if you need help, our support team is always available to assist you with creating your CSV.
Once you’ve imported all the sources that represent your business activity, you’re ready to move on to managing your assets!