How to sync transactions to Netsuite
Netsuite is one of the world’s leading accounting software platforms. Cryptio integrates directly with Netsuite, allowing you to push transaction data automatically—saving time and reducing errors in your accounting process.
Why this matters
You’ll have one journal entry per transaction in your accounting system.
The process is fully automated—no manual spreadsheets are needed.
You can use Cryptio’s direct Netsuite integration for a seamless workflow.
No reconciliation is required within Netsuite.
This guide walks you through the end-to-end workflow for syncing transactions to Netsuite and explains how to troubleshoot common errors.
Connecting your Netsuite account with Cryptio
First, connect your Netsuite account with Cryptio. If you haven’t already, follow [this guide] (link) to complete the setup.
Once connected, your Netsuite Chart of Accounts (CoA) will be imported into Cryptio. You can view this under Accounting > Chart of Accounts > View imported CoA.
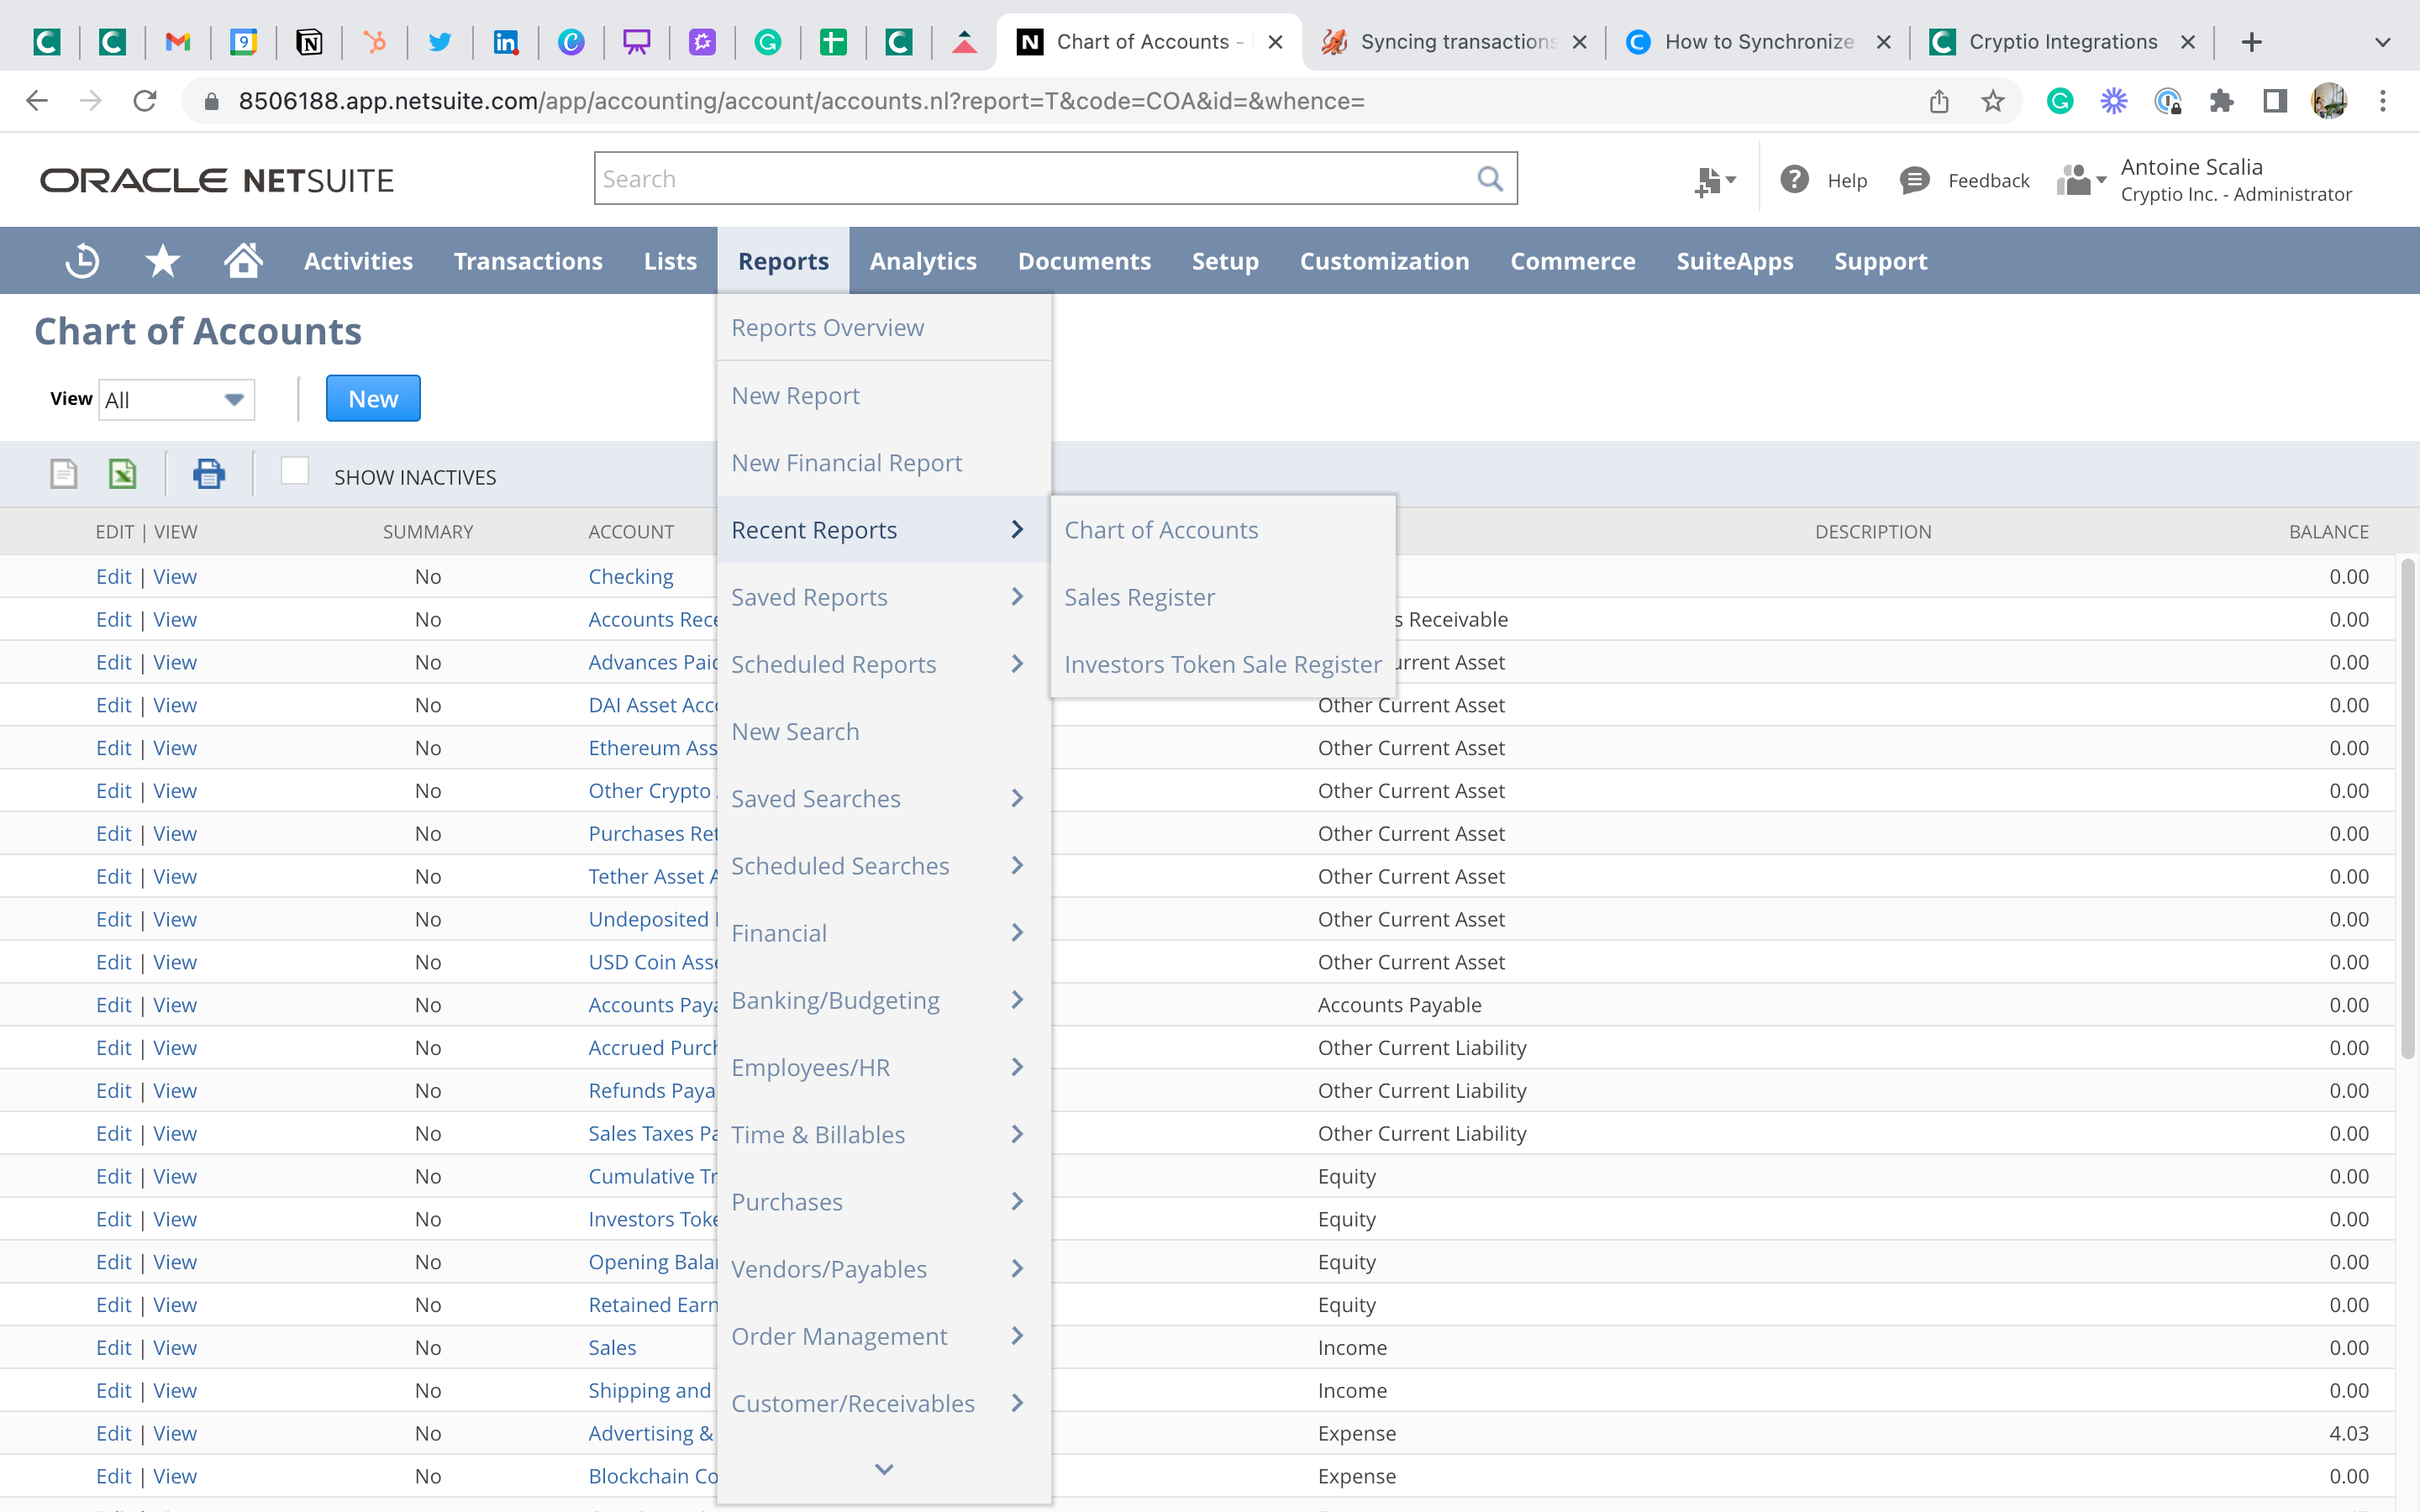
To confirm your Chart of Accounts directly in Netsuite, go to:
Reports > Recent Reports > Chart of Accounts.
Next, you’re ready to map your transactions to the CoA. For detailed steps, check out [How to Map your Chart of Accounts in Cryptio].
Syncing requirements
Before syncing, make sure your transactions meet these requirements:
Default accounts are mapped (Gains/Losses & Fees).
The transaction is balanced (Asset account and P&L account mapped). For trades, this means two asset accounts.
No missing prices. (If prices are missing, contact Cryptio support.)
To ensure transactions are accurate in your main ledger, make sure each transaction includes:
A clear source (wallet or exchange).
Identified counterparty.
Proper labels and notes where relevant.
Steps to sync transactions
Step 1: Update the cost basis
Check if a warning appears in your workspace to update the cost basis. If so, click Update cost basis in the Transactions page.
Step 2: Confirm transactions are balanced
Go to the Needs review > Ready to be synced tab. Use Cryptio’s review view to check mapping accuracy.
Click any transaction to open details.
Confirm that accounts are correctly mapped.
Repeat for all transactions or use filters to narrow down.
Step 3: Select transactions to sync
From the Needs review page:
Select all or specific transactions to sync.
Use filters to refine results, such as:
Transactions with a specific label (e.g., “Salary”).
Transactions within a chosen time frame.
Step 4: Push transactions to Netsuite
Click Synchronize [x] transactions with NetSuite.
Under the Sync column, an hourglass will appear:
Successful sync: Transaction disappears from Needs review, appears in the Transactions view, and shows a green checkmark.
Failed sync: A red information icon will display.
Troubleshooting syncing errors
If a red information icon appears after syncing:
Click the transaction.
Scroll to Synchronization status to see the error reason. Common messages include:
“Mismatched transaction values.”
“Transaction date is not within the date range of your accounting period.”
“Invalid journal.”
“Missing credited/debited account.”
“This record already exists.”
Solution example:
For “This record already exists,” remove the duplicate journal entry manually in Netsuite:
Transactions > Financial > Make Journal Entry > List > Edit.
Then resync the updated transaction from Cryptio.
If errors persist, adjust your mapping, pricing, or calculations as needed. Still stuck? Reach out to Cryptio’s support team.
Finding synced transactions in Netsuite
To view your synced entries in Netsuite:
Log in to Netsuite.
Navigate to Transactions > Financial > Make Journal Entries > List.
You’ll see all journal entries synced from Cryptio.
To view entry details, select View at the start of the row.