How to sync transactions to Xero
Syncing transactions to Xero is the final step in bridging your on-chain activity with your main ledger. Once synced, your crypto transactions can be seamlessly reconciled in Xero with proper accounting entries.
Classifying transactions ensures the data is easy to identify and categorize, but the real game-changer is Chart of Accounts mapping. This ensures the correct debit and credit entries are pushed to the right accounts in Xero.
Syncing Requirements
For a transaction to successfully sync to Xero, it must meet the following requirements:
Default accounts mapped — Gains/Losses and Fees accounts are set.
Asset mapping for trades — Both assets involved in a trade are mapped to asset accounts.
Pricing data available — No missing prices (contact Support if you encounter gaps).
To make transactions meaningful in your main ledger, it’s also best practice to include:
A clear source name (wallet or exchange)
Identified counterparty
Transaction labels (and notes where relevant)
Steps to Sync Transactions
Before syncing, check if your workspace has a warning to Update Cost Basis.
Go to the Transactions page and click Update Cost Basis if prompted.
Then, follow these steps:
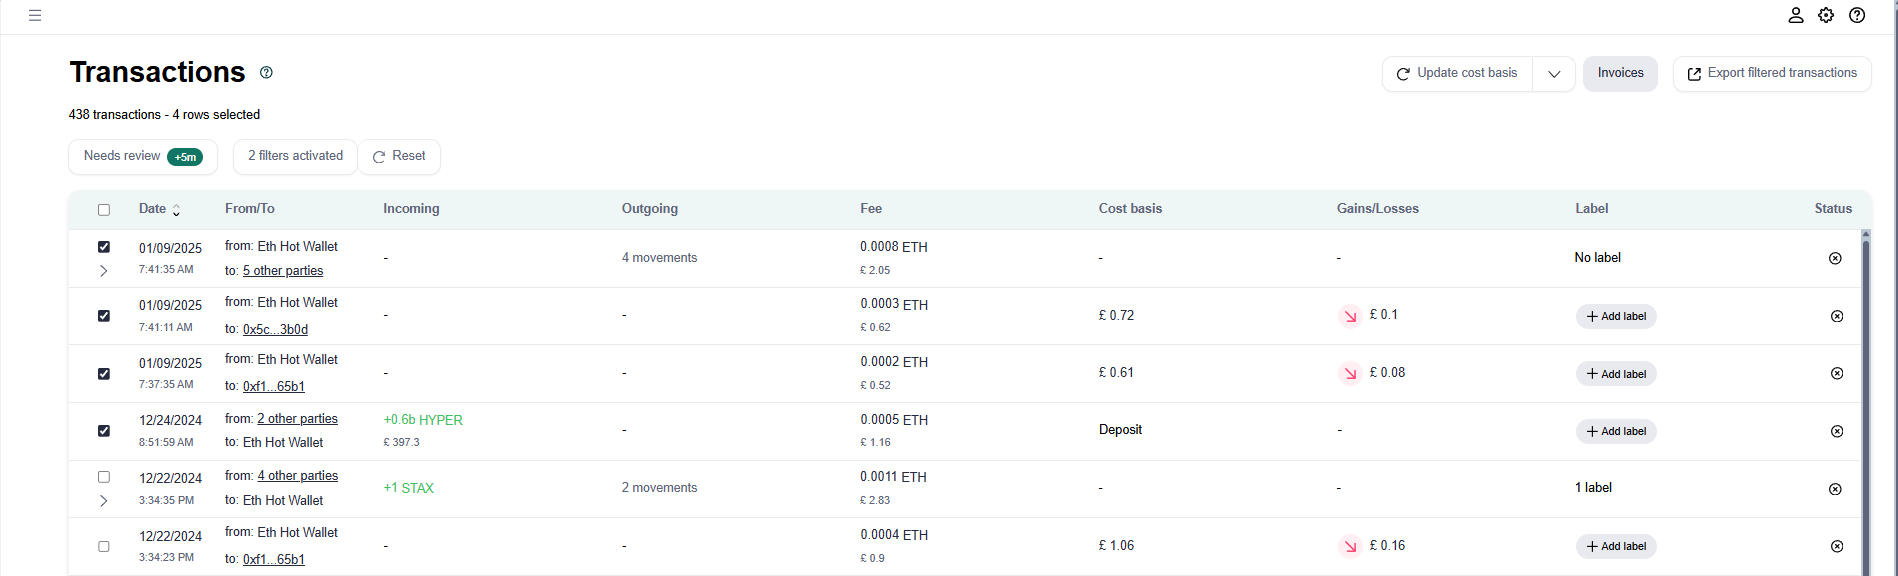
Step 1: Filter Transactions
Decide which transactions you want to sync. Common approaches include:
Filtering by Label (e.g., Salary)
Filtering by Date range
Step 2: Check Chart of Accounts Mapping
Click into a few transactions to confirm that automated mapping has assigned the correct accounts.
Step 3: Select Transactions
To synchronize all transactions that are ready, head to the Needs Review Module, then go to the Ready to be synced tab. You can select all transactions here, then hit Sync with Xero at the bottom.
If you want to do this in batches, you can also highlight the transactions you want to sync from anywhere on the Transactions page. Please note, transactions will only synchronize if they have complete mappings.
Step 4: Sync to Xero
Click Synchronize "X" transactions with Xero.
Green checkmarks indicate the sync was successful.
Locating Synced Transactions in Xero
To view your synced transactions in Xero:
Log in to Xero.
Go to the Accounting tab and select Reports.
Scroll to the Accounting section and click Journal Reports.
Open Manual Journals.
Click Drafts to see the synced transactions that were pushed from Cryptio to Xero.